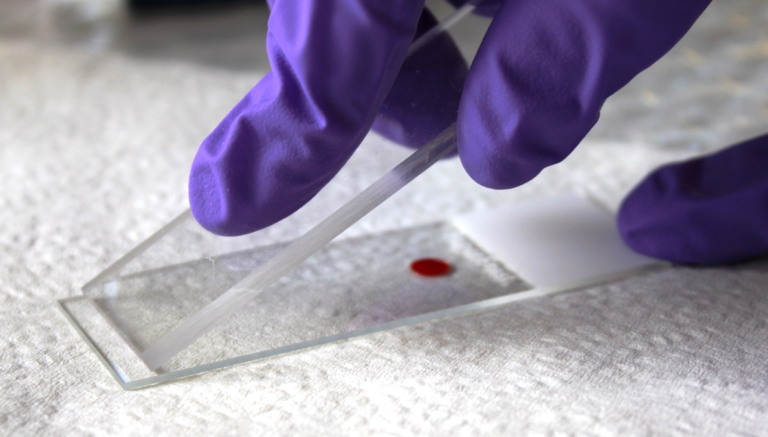
The peripheral smear test, also known as a blood smear or peripheral blood film is a diagnostic method of examining blood cells through a microscope. It gives invaluable information on the structure and count of the cells in the blood serving as a tool for diagnosing many diseases. This article will bring you through the process, the preparation and the aftercare of performing a peripheral blood smear test.
Understanding the Peripheral Smear Test:
A peripheral smear test is a procedure that requires drawing a small amount of blood from a person’s fingertip, heel, or vein, depending on the age and the condition of the person. Next, a small sample of blood is smeared onto a glass slide, stained and thoroughly examined by the pathologist with the help of a microscope.
Procedure:
The procedure for a peripheral smear test is relatively simple and minimally invasive. Here’s a step-by-step guide:
- Patient Preparation: Patients are asked to avoid eating or drinking anything other than water for at least 8 hrs before the test so that it can be assured that the readings will be accurate. It is vital to the healthcare provider to know about any medications or supplements used, for a reason of which some of them can alter blood cell morphology.
- Blood Collection: A healthcare practitioner will wash the insertion site with an antiseptic and will prick the fingertip or the heel of an infant (lancet). For adults, blood may be drawn through a vein by a needle and syringe. Just a small amount of blood is put onto a glass slide and then transferred there.
- Smearing and Staining: This stripe is balanced between thickness and transparency. At the same time, the spread should cover the period as much as possible and so that all blurring areas are clearly displayed. Thereafter, such dyes like Wright’s staining or Giemsa staining are applied in order to different cells to be made more visible.
- Microscopic Examination: First the slide is stained so then it is looked under a microscope at different magnifications to see the morphology, size, shape, and distribution of red blood cells, white blood cells, and platelets. The existence of abnormalities, as an example mature or strange cells, can offer a lot of diagnostic data.
Preparation:
Preparing for a peripheral smear test involves a few essential steps to ensure accurate results:
- Fasting: The patient is required to fast for at least 8 hours before the test as food intake can cause alterations in blood cell morphology and composition.
- Hydration: It is an important prerequisite to stay hydrated by drinking enough water before the exam as dehydration can provoke the alteration of blood viscosity and cell morphology.
- Medication Review: Inform the healthcare provider concerning any medications, herbal supplements, and remedies intake, as few drugs interfere with blood cell morphology and staining.
Aftercare:
After peripheral smear test, patients may experience slight pain or bruising at the puncture point.
- Apply Pressure: To minimize bleeding and bruising, put slight pressure on the puncture site with the clean gauze pad or cotton ball for the few minutes.
- Rest and Hydration: Sleep and drink some fluids to replenish your blood and encourage the healing process.
- Monitor for Complications: Pay attention to the puncture site for any infection signs like redness, swelling, or discharge. Seek medical help should any complications arise.
Conclusion:
The peripheral smear test will be a useful diagnostic tool through the evaluation of the blood cell morphology and composition. Understanding the procedure, preparation, and aftercare associated with peripheral smear tests, patients can be rest assured that the results are accurate and it contributes in way to the health and well-being of the people.


Comments are closed.